

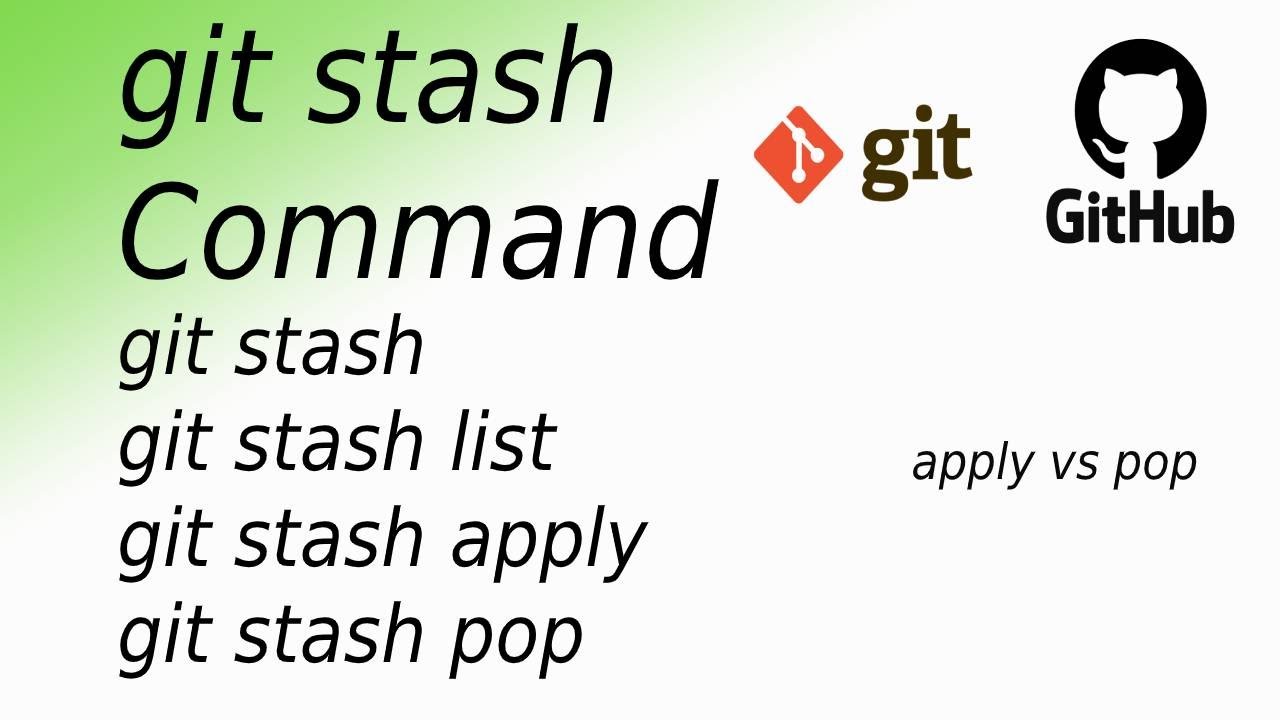
Git Stash
What is git stash?
Git stash is a command that is used to temporarily shelf a changes you made, work on other changes and then come back to it later on. It is used when you want to switch branches or work on a different task without committing the current changes that you made.
Basically Git Stash preserves your changes before commit, without worrying about losing your progress, in case there's a call for another task to be done ASAP.
Stashing or Removing from working directory:
#git stash
Getting the changes back in the area
#git stash pop
List all the stashes
#git stash list
Cherry Pick
What is cherry-pick ?
cherry-pick is the command used for merging a specific commit into the line of development. As the name suggests it points to a specific commit using the hashcode and then get it merged into the main/master branch.
When you're working on different branches in Git, sometimes you come across a commit on one branch that you just have to have on another branch—maybe it's a fix or a feature that's exactly what you need. That's where git cherry-pick comes in!
Use Cases:
Debugging in Branches: Imagine you have two branches, development and debugging. You fixed a critical bug in the bug fix branch, and now you need to apply that fix on your development branch without all the other changes. Cherry picking a commit that contains a bug fix allows you to select only that fix together in development with no changes other than the bug fix.
Feature Backporting: Let’s say you were working on a new feature in the feature branch, feature-x, but realize that you need this feature immediately in your stable production branch, master Instead of merging the entire feature-x branch made into a master, which may include unfinished work or other changes that are not ready for release, you can cherry-pick specific commit(s) of the complete feature and apply them to master
Selective Code Review: While in code review, you can see your commits to a feature branch that is particularly well written or solves a problem in the most appropriate way.
Undoing changes: If you want to undo changes made by a particular commit on a branch, you can use git cherry-pick to roll back that commit in reverse order to the same branch this this changes caused by that commit very thoroughly, with no errors or unwanted changes affecting the rest of the branch history Provides a targeted approach to handling.
Managing Release Branches: In a project with multiple release branches you may need to ensure that each release branch has specific bug fixes or updates applied, making them independent Cherry-picking to allow commits to be applied in the option selected on each release branch as needed, ensuring that repairs are extended with no unrelated changes.
To cherry-pick a command
#git cherry-pick
Task 01: Stashing and Applying Changes
Create a New Branch: Start by creating a new branch using the
git checkout -b <branch_name>command. Replace<branch_name>with your desired branch name.Make Changes: Make the necessary changes to your files in this new branch. This could involve adding, modifying, or deleting files.
Stash Your Changes: Before switching to another branch, stash your changes using the
git stashcommand. This will save your changes in a temporary storage area, allowing you to retrieve them later.Switch Branches: Use the
git checkout <other_branch>command to switch to a different branch where you want to work on something else.Make Changes and Commit: In the new branch, make your desired changes and commit them using
git add <file>followed bygit commit -m "Your commit message".Apply Stashed Changes: Once you're done with the other branch, switch back to the original branch where you stashed your changes using
git checkout <original_branch>. Then, apply the stashed changes on top of your current changes usinggit stash pop. This will retrieve the changes you stashed earlier and apply them to your working directory.
Task 02: Reflecting Commits in Production Branch
In this task, you'll ensure that commit messages from one branch are reflected in another using rebase:
Checkout Development Branch: Start by checking out the development branch using
git checkout development.Edit version01.txt: Open
version01.txtin your text editor and make the necessary changes as per the task requirements. Remember to add the specified lines and commit each change with the provided commit messages.Rebase onto Master: After committing changes in the development branch, switch to the master branch using
git checkout master. Then, rebase the development branch onto the master branch usinggit rebase development. This will apply the commits from the development branch onto the master branch.Resolve Conflicts (if any): If there are any conflicts during the rebase process, resolve them manually as instructed earlier.
Task 03: Cherry-Picking and Optimizing Features
In this task, you'll cherry-pick a specific commit from one branch and add additional changes to it:
Cherry-Pick Commit: Start by checking out the production branch using
git checkout production. Then, cherry-pick the specified commit usinggit cherry-pick <commit_hash>.Edit version01.txt: Open
version01.txtin your text editor and make the necessary additions as instructed. Add the specified lines after the indicated point in the file.Commit Changes: After adding the additional changes, commit them with an appropriate message, such as "Optimized the feature".
Push Changes (if necessary): If you need to push the changes to a remote repository, use
git pushto push the changes to the production branch.
By following these detailed instructions, you'll successfully complete each task and gain a deeper understanding of Git and GitHub for DevOps engineering.
That concludes Part 2 of our series on Git and GitHub for DevOps engineers. Stay tuned for more insights and tips in our ongoing DevOps journey!