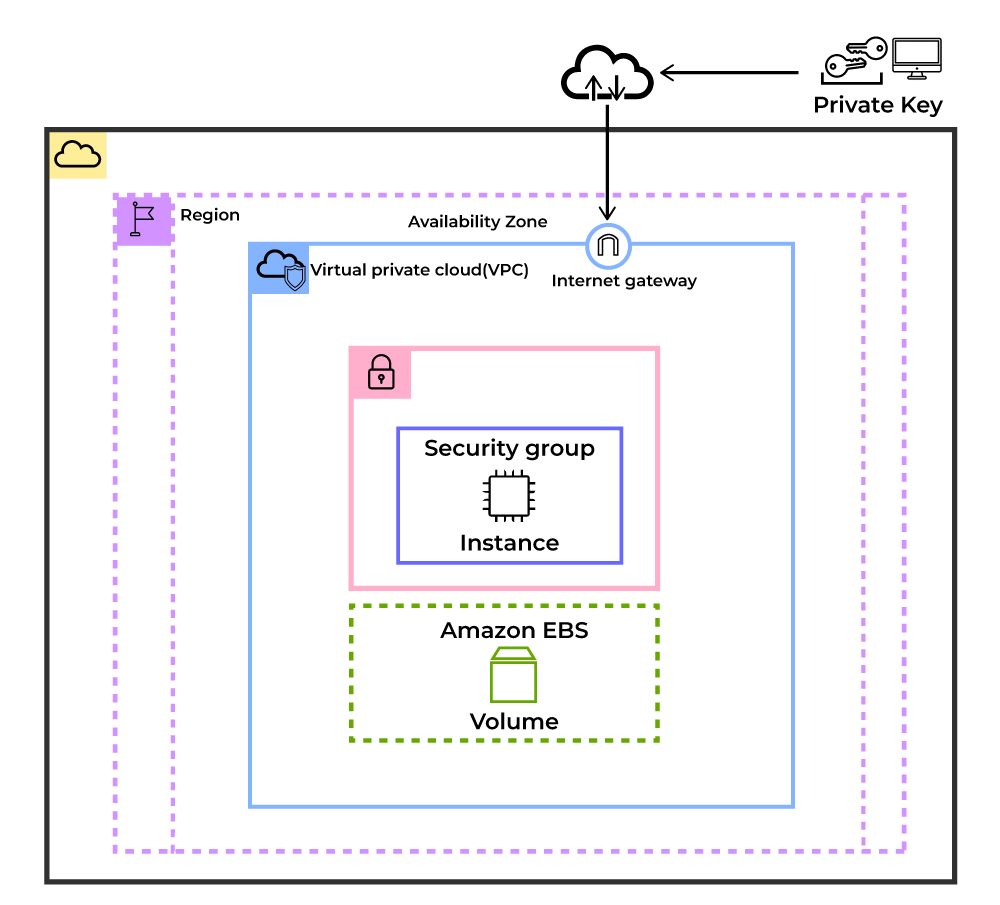
EC2:Art of Managing Virtual Servers in AWS

EC2 stands for Elastic Compute Cloud.
EC2 is an on-demand computing service on the AWS cloud platform. Under computing, it includes all the services a computing device can offer to you along with the flexibility of a virtual environment.
It also allows the user to configure their instances as per their requirements i.e. allocate the RAM, ROM, and storage according to the need of the current task.
Even the user can dismantle the virtual device once its task is completed and it is no more required. For providing, all these scalable resources AWS charges some bill amount at the end of every month, the bill amount is entirely dependent on your usage.

Use Cases of Amazon EC2 (Elastic Compute Cloud):
Deploying Application: In the AWS EC2 instance, you can deploy your application like .jar,.war, or .ear application without maintaining the underlying infrastructure.
Scaling Application: Once you deployed your web application in the EC2 instance know you can scale your application based upon the demand you are having by scaling the AWS EC2-Instance.
Hybrid Cloud Environment: You can deploy your web application in EC2-Instance and you can connect to the database which is deployed in the on-premises servers.
Cost-Effective: Amazon EC2-instance is cost-effective so you can deploy your gaming application in the Amazon EC2-Instances.
The AWS EC2 Instance Types are as follows:
General Purpose Instances
Compute Optimized Instances
Memory-Optimized Instances
Storage Optimized Instances
Accelerated Computing Instances
AWS EC2 Operating Systems:
Amazon Linux
Windows Server
Ubuntu Server
SUSE Linux
Red Hat Linux
Macos .......

Pricing of AWS EC2 Instance:
The pricing of AWS EC2-instance is mainly going to depend upon the type of instance you choose. The following are the pricing charges on some of the EC2-Instances.
On-Demand Instances: The On-Demand instance is like a pay-as-you-go model where you have to pay only for the time you are going to use if the instance is stopped then the billing for that instance will be stopped when it was in the running state then you are going to be charged. The billing will be done based on the time EC2-Instance is running.
Reserved Instances: Reversed Instance is like you are going to give the commitment to the AWS by buying the instance for one year or more than one year by the requirement to your organization. Because you are giving one year of Commitment to the AWS they will discount the price on that instance.
Spot Instances: You have to bid the instances and who will win the bid they are going to get the instance for use but you can’t save the data which is used in this type of instance.
Get Started With Amazon EC2 Linux Instances:
First login into your AWS account. Once you are directed to the management console. From the left click on “Services” and from the listed options click on EC2.

EC2 console:

Steps:
Choose Launch Instance.
Choose an Amazon Machine Image (AMI), find an Amazon Linux 2/Ubuntu/Redhat AMI at the top of the list and choose Select.

Choose an Instance Type, choose Next: Configure Instance Details.
Configure Instance Details, provide the following information:
Leave Number of instances at one.
Leave Purchasing option at the default setting.
For Network, choose the entry for the same VPC
For Subnet, choose a default subnet in any Availability Zone.
For File systems, make sure that the EFS file system that you created in Step 1: Create your Amazon EFS file system is selected. The path shown next to the file system ID is the mount point that the EC2 instance will use, which you can change.
The User data automatically includes the commands for mounting your Amazon EFS file system.

Choose Next: Add Storage.
Choose Next: Add Tags.
Name your instance and choose Next: Configure Security Group.

Choose Review and Launch.
Choose Launch.

Connect EC2 Instances:
Select instance > connect.
EC2 Instance connect - In will open in browser.

Connect instance through SSH:
Open terminal > enter in .pem file (keypair) dir > change permission of file chmod 400 "imm-s3.pem" > ssh -i "imm-s3.pem" ubuntu@ec2-3-110-120-174.ap-south-1.compute.amazonaws.com.

